

Written by Gianna Weissensel
The University of Florida Foundation (the Foundation) is a nonprofit entity and institutionally related foundation based in Gainesville, FL that supports the University of Florida’s (UF) mission of teaching, research, and service. Operating as an integral part of the wider consortium of offices and individuals known as University Advancement, the Foundation serves as UF’s fundraising and fund management partner. Its mission is to promote the university, increase philanthropy, manage and grow UF’s endowment, ensure the appropriate use of funds, and pursue best governance practices. Alongside this mission, the Foundation is guided by its vision to be a valued partner to UF by connecting donor resources and donors with their passions through the university.
The Challenge and Opportunity
The University of Florida Foundation was implementing Salesforce with the ascend Advancement product from Kindsight (formerly UC Innovation) and other third-party products to replace an older advancement system. A resource issue arose when the implementation took more time than originally expected, so the Foundation hired a full-time Salesforce administrator for their team. However, when that administrator left the team, the Foundation was unable to find a replacement. Kindsight was helping the Foundation complete some customization work for the implementation, but they could not perform the extra level of configuration the Foundation needed alongside their existing implementation.
Gabrielle Sanders, Senior Director of Development Information Systems at the Foundation, explained, “The decision was made that Kindsight would handle key customization work while the Foundation would handle the remaining configuration that we felt was important. My team had done some Trailheads and they knew a little bit about Salesforce, but they were in the “infancy stages” of becoming Salesforce Admins.”
Without a Salesforce resource in-house, the Foundation determined that the best solution was to find a consulting partner that could supplement Sanders’ team with a full-time, experienced Salesforce resource for the remainder of their implementation.
The Solution
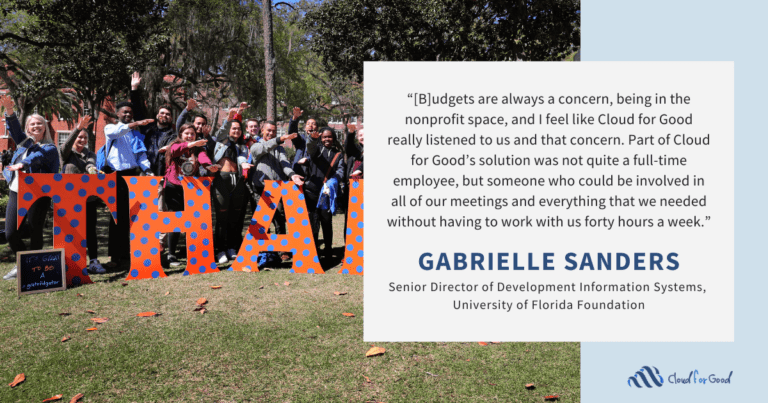
The Foundation spoke with several vendors in their search for a Salesforce consultant, including Cloud for Good. Ultimately, it was Cloud for Good that the Foundation selected as their consulting partner. “In this instance it really came down to the price point for the services being provided,” explained Sanders. “We talked to different vendors and we explained that budgets are always a concern, being in the nonprofit space, and I feel like Cloud for Good really listened to us and that concern.”
Based on what the Foundation needed, the solution Cloud for Good proposed was using one of their Talent for Good Analysts at the time, Josh Williams, (now a Cloud Consultant at Cloud for Good), to work with the Foundation as their Salesforce Configuration Specialist. “Part of Cloud for Good’s solution was not quite a full-time employee, but someone who could be involved in all of our meetings and everything that we needed without having to work with us forty hours a week, which allowed us to not have to pay for a full-time employee,” said Sanders. “However, you would have never realized Josh wasn’t full-time because he was always there at all the times we needed.”
During his engagement with the Foundation, Williams helped the Foundation in the following areas:
Platform Configuration
Through his declarative programming expertise with Salesforce, Williams worked alongside the Foundation team on the configuration and buildout of their Salesforce platform and tools. This included modifying existing custom Flows, building new Flows, creating and managing reports and dashboards, analyzing and assessing new KPIs, and improving security and permissions settings.
In particular, Sanders explained how impactful the security setting configuration that Williams performed was. “We have to go through internal and external audits annually because Salesforce is our gift processing system, which feeds into our financial reporting system. They both get audited annually, but our security and permissions space was an area that we struggled with. Our auditors were not happy with how our security was structured … The security and permission space is quite complicated, but this was an area that Josh was able to provide input on.”
For the Foundation’s security and permissions settings, Williams took the time to analyze their needs, create profiles, configure permission sets, and suggest other recommendations for settings. “One example was we had a bunch of sharing rules that we had to work through on a spreadsheet that we called our matrix of permissions,” shared Sanders, “And Josh suggested adding some additional tabs to track additional items. So we’ve now done that and incorporated it into our security and permissions, and we continue to use it.”
Technical Support and Infrastructural Consultation
Williams was instrumental in providing technical assistance during the Foundation’s Salesforce implementation. This included support and guidance for system management needs, declarative automation, backlog features, third-party applications, environment management, leading the Foundation’s requirements gathering and solution development, building user stories, and testing.
“Josh was able to really jump in,” explained Sanders. “He has a great technical skill set. For anything I asked him about or if we were running into a particular problem—and maybe he had never encountered it—he was always quick to say, ‘You know, I haven’t run into that myself, but I can certainly check with my team and I’ll get back to you with recommendations.’ And he would actually do it with no follow-up needed.”
“Another really helpful thing Josh did that we’re just starting to see was that on his last week or so with us, we still had so many user stories that were outstanding. What he did was take the time he had left, go through as many user stories as he could, and provide some direction-like notes on how to approach them for my team. When we finally got to work on those user stories, Josh had basically already done some of the technical research and provided some of the solutioning even if it was not always the exact solution. Sometimes it was different trains of thoughts like, ‘Ok, you could do option A and here’s the pros and cons for it, or you could do option B and here are its pros and cons.’ I think that sort of speaks to how Josh was the whole time he was with us.”
Training and Best Practices
Williams shared and instructed the Foundation on how to implement Agile methodology within their team to increase productivity, and he led user enablement training, knowledge transfer sessions, and end-user office hours for Foundation staff who were new to Salesforce.
“Josh was really good at explaining things to the team,” said Sanders. “We would have technical training sessions a couple of times a month, and if the team had specific topics they wanted Josh to address, he would address them. Otherwise, he would just identify topics that had come up over the last few weeks that he thought would be helpful for the team. Anytime Josh built something that was a little more complicated, like a Flow, he would demo it, walk us through it, and document it. He was really showing us a best practice of how we should work.”
Sanders noted how the documentation that Williams created for the Foundation continues to be used to this day for forthcoming Salesforce initiatives. “We have about twelve Flows that were built with older technologies on Salesforce that have to be migrated within the next twelve months, and I expect that we will then use the documentation he provided, some of which was generic, in order for us to easily reuse it.”
The Results
The services that Cloud for Good and Williams delivered to the Foundation during their engagement together enabled a positive experience for the Foundation team and resulted in:
- Building a strong client relationship and trust with the Foundation to help them identify business opportunities.“Josh was never telling us how we had to do something,” shared Sanders. “Instead, what he was telling us was what our options were so that we could talk it through to make the best business decisions for us.”
- Improved Salesforce org security and permissions and KPIs that mitigate the risk of failing future audits.“There were security and permissions trainings that Josh did, and our business analysts have already gone back and reviewed some of those just to make sure they did it right,” Sanders shared. “It’s much easier for me to say to them, ‘Hey, go watch this training Josh did,” than for me to try to explain security and permissions to them.”
- Successfully executed Salesforce Admin training after Go-Live, which educated the Foundation team on best practices and technical debt management in Salesforce.“Josh worked through various problems and challenges that came up. He provided feedback on how to approach things like, ‘What are the best practices?’ or ‘How do you determine whether to build a Flow or build a trigger?’ He would walk through certain things that would pop up like that, and share the pros and cons.”
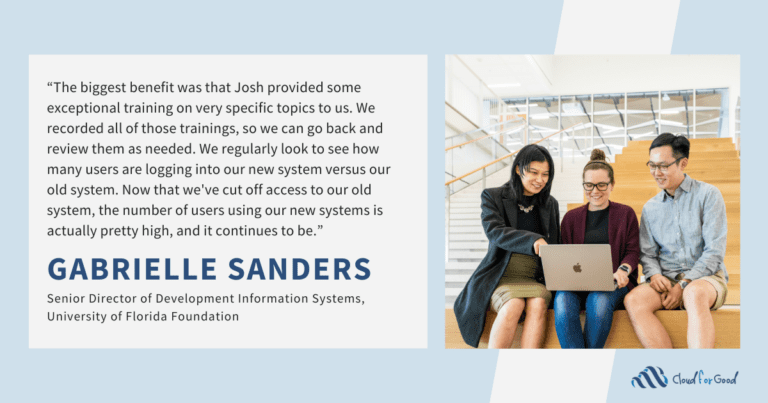
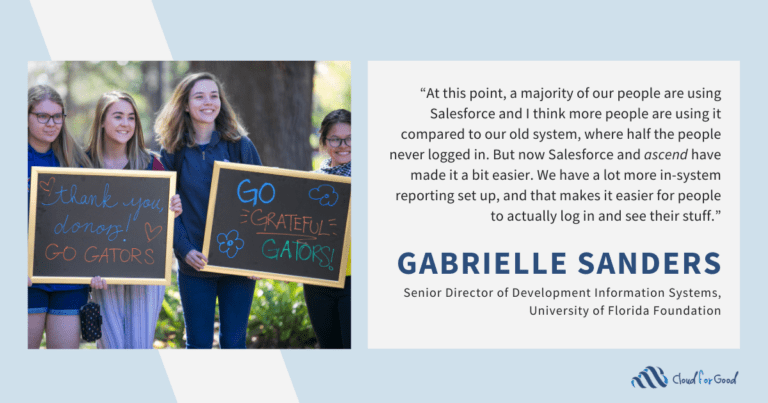
- Successful knowledge transfer and implementation of Agile methodology that has increased productivity among the Foundation, enabled user adoption, and empowered them to continue administering and enhancing their new Salesforce org.“The biggest benefit was that Josh provided some exceptional training on very specific topics to us,” said Sanders. “We recorded all of those trainings, so we can go back and review them as needed. We regularly look to see how many users are logging into our new system versus our old system. Now that we’ve cut off access to our old system, the number of users using our new systems is actually pretty high, and it continues to be. Our development officers, who are like our salespeople for raising money, have to track their metrics in Salesforce and they don’t have another way to do it. If they want credit for a proposal closing, they have to put that proposal in Salesforce. At this point, a majority of our people are using Salesforce and I think more people are using it compared to our old system, where half the people never logged in. But now Salesforce and ascend have made it a bit easier. We have a lot more in-system reporting set up, and that makes it easier for people to actually log in and see their stuff.”
- The Foundation’s extending their consulting contract with Cloud for Good by four additional months beyond its planned end date because of how pleased they were by Williams’ excellent performance and work.“Everybody loves Josh,” said Sanders when asked about the Foundation’s and her experience working with Cloud for Good and with Williams as their consultant. “We’ve worked with many consultants, and we’ve had a lot of consultants especially in my area, which is the more technical space. In general, we don’t always have consultants work with our functional business users for many reasons. A lot of times, it just depends on the consultant. We have a very specific culture where we’re kind and inclusive, and we love everyone. And sometimes the consultants may not always fit in personality-wise, which makes it hard for me to feel comfortable leaving them in a Zoom meeting with my team. … I would end up being the intermediary for these areas … and that ended up being a lot of extra work for me. But Josh could meet with anyone.” Sanders explained further: “In our Prospect Management area, where we try to find good prospects for development officers to do the fundraising, there are two core businesses. One is booking the money we get and the other is raising the money. But there was a gap we had there where no one on the team had Salesforce expertise. I was able to just kind of turn Josh loose with that team—and they all loved Josh. They still talk about Josh to this day … he was just a really good, well-rounded person, like one of our favorite consultants of all time.”
To learn more about the University of Florida Foundation and their work, visit www.uff.ufl.edu/foundation.
You Might Also Enjoy:
Success Story: Western Michigan University Adds Salesforce Support Through Talent for Good
Success Story: How Old Dominion University Built Its Salesforce Team With Talent for Good
Success Story: How Cloud for Good is Innovating the Indiana University Advancement Experience with Salesforce