Categorize Your Constituents
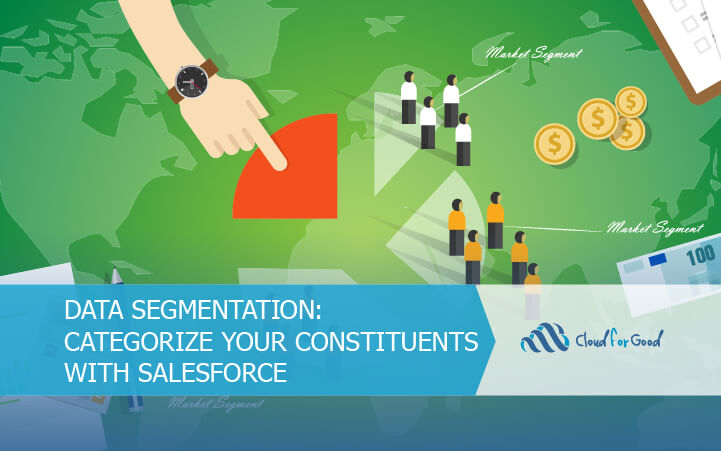
Before you read this section, I’d like you to take a minute and think – “How do I categorize my constituents?”.
 You’ll probably think of all kinds of categories! I bet you thought of donors and volunteers. Did you also think of members and people you interact with in your programs? How about general community members and staff members? Are there any subcategories within each category – Donor Tier A, Donor Tier B and Donor Tier C for example?
What I’m trying to highlight is that there are many ways to categorize your constituents. In the past, I’ve even drawn out a Venn Diagram to help conceptualize these categories. As you draw out your own diagram (either mentally or on paper), you’ll probably notice that there are many people who fall into multiple categories – or maybe even all categories! After you understand how you’d like to categorize your constituents, the next step is thinking about how to define these categories with data.
Capture The Data
To get started, think about this basic question: “What makes someone a donor?” Are they a donor if they have ever donated – or is it based on how much they’ve donated? What about if they have donated within the last year?
As you continue asking yourself these questions, you’ll begin to understand what data you need to capture about each person. In this simple example, we need to capture Total Donation Amount ($) and Total Donation Amount – Last Year ($).
Now you’re probably thinking, “Okay Brett, I don’t have time to update these fields on all of my constituent records…” Don’t worry, automation to the rescue! In this case the NPSP already has these fields AND will automatically update them for you! There are other automatically calculated fields available for you related to membership, soft credits and more! Here’s a helpful link on Opportunity Rollups.

If you need to capture custom information, you can create custom fields and have them be automatically calculated using tools like Declarative Lookup Rollup Summaries and Rollup Helper. Both tools have great guides on how to set up these custom rollup calculations.
Leverage The Data
As long as you’re capturing the right data and your system is automatically calculating it for you, creating tailored lists is the easy part! All you need to do throw together a query in the Salesforce Report Builder and return things like
- Contacts Who Donated Over $500 This Year
- Volunteers with More Than 10 Volunteer Hours This Quarter
- Members with a Membership Duration Over 1 Year
Now, do you want to do something a little fancier? Yeah? Let’s have a look at NPSP Levels.
Using this feature, you can assign a “Level” to a constituent based on the data you know about them. For instance when someone has donated over $500 this year, the system can assign them the level – “Donor Tier B”. Or when someone has not donated within the last 2 years, the system can assign them the level – “Lapsed Donor”.
You may be thinking, “Brett, why should I have the system assign the lapsed donor level to someone who has not donated in the last 2 years, if I can just put together a report and get a list of those same people?” That’s a great question! Firstly, sometimes these levels can help make it easier to understand a constituent’s involvement at a glance – ie. reading “Lapsed Donor” on a constituents record means something to you. Secondly, reporting on all Contacts with the Level of “Lapsed Donor” is easier than putting together the Salesforce Report query. Lastly, you can use Levels in tandem with another tool called NPSP Engagement Plans!
Engagement plans are essentially a predefined set of actions or tasks that you need to perform. The moment someone reaches a certain level, you can configure the system to apply an engagement plan to them automatically. This can be incredibly useful if you find yourself frequently doing the same set of actions for certain categories of constituents.
Two Suggestions For Future Improvement
In this post I wanted to use some simple examples to help get you thinking. There are many nuances involved in understanding how to best categorize your constituents and it’s natural for those categories to be constantly evolving.
After you get a grasp of what I talked about above and have started implementing some of these techniques, it’s likely that you’ll look for ways to improve your process. Below are two suggestions for improvement that you can try out – the first is much simpler than the second:
- Sync data from Salesforce to your 3rd party email tool so that you can segment your lists in your 3rd party email tool based on your Salesforce data
- In order to do this, you will probably need to create custom fields in your 3rd party email tool
- Not all email tools allow for data to sync back and forth to Salesforce, so if you fall into that group feel free to just export your data from Salesforce and use it to update the data in your email tool via an import
- Use Process Builder to automatically add Contacts to Campaigns when they achieve a certain level
- Campaigns in Salesforce are incredibly useful to group together any set of Contacts and/or Opportunities. You can create Campaigns called “Donor Tier B”, “Lapsed Donors” and your other categories and send tailored messages to each group
- Here are some questions to think about as you build this:
- What happens if the Contact is added to a Campaign because they achieve a certain level, then their level changes and they are added to another Campaign. Should they be removed from the first one?
- If the Contact is already on a Campaign, how do we stop Salesforce from automatically trying to add them again?
Here are a few related posts that you might also be interested in:

